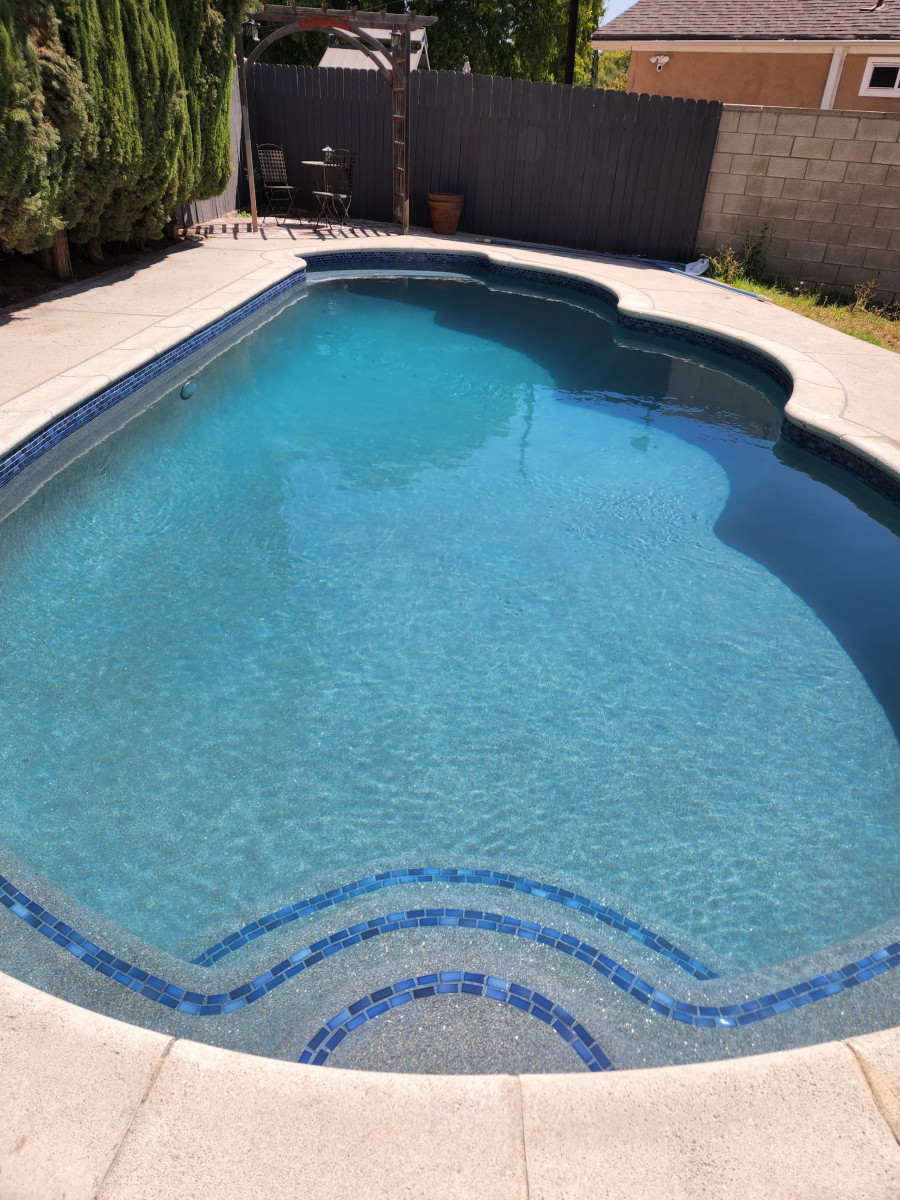
What is the process for a pool replaster or remodel project?
So, you are possibly wanting to replaster or remodel your pool & you are looking for some info on how this process works or looks like. A pool project can seem intimidating, but it actually boils down to about 5 or 6 key steps. Knowing these steps will allow you to be well informed on your project & ensure everything is getting done right. You’ve come to the right place for this info! I will break this process down for you step by step in this article!
Step 1: Draining The Pool Water
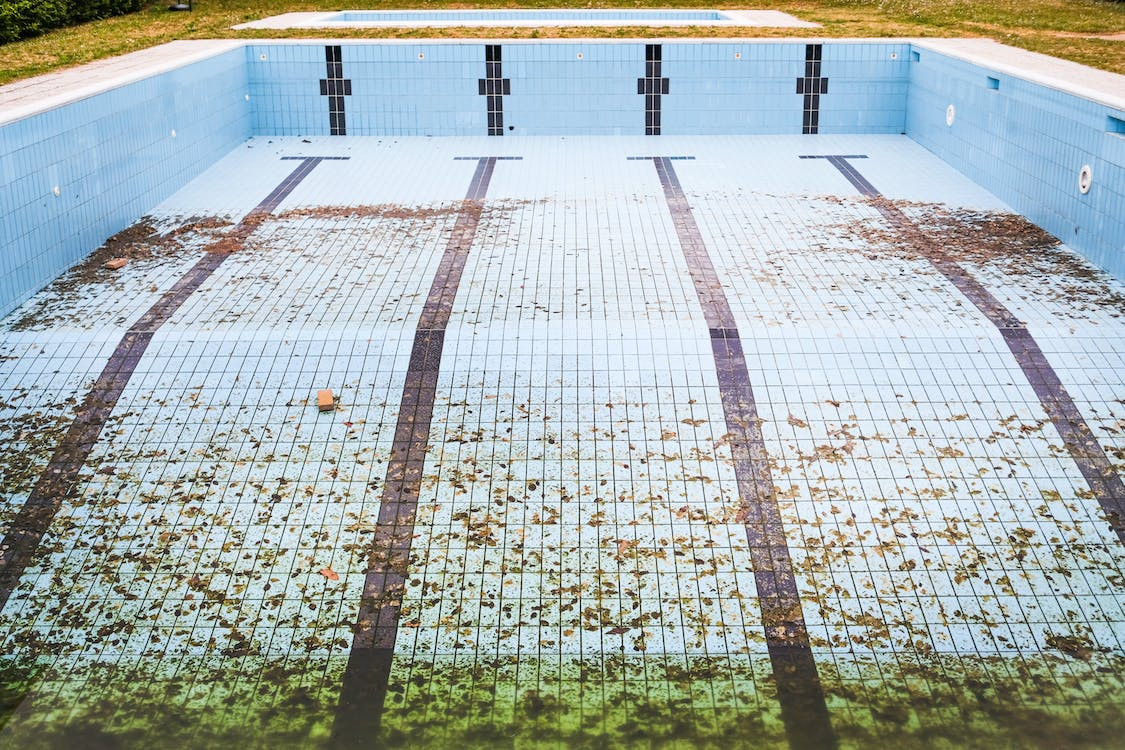
This one may seem obvious but there is some key info here I would like to talk about. The easy part is bringing a sump pump & hoses to drain the water from the pool. This pump will be dropped to the deep end of the pool & the water will start to pour out of the hoses that are attached. This process can take up to 1-2 days depending on the size. Ensuring the autofill ( if you have one) as well as all the equipment are off is very important at this phase.
The big question is where this pool water will be drained to. The street is commonly a big no-no for most cities (contact your city for more info) so most times we need to find a direct line to the sewer to drain the old pool water out before moving forward with the project. This direct sewer line is sometimes called a p-trap, sewer trap among other names. Every house has one & if you have a backwash line from your pool filter, this typically goes right to this location. The sewer trap, as we will call it, is typically a large black pipe sticking out of the ground, it may have a thread cap or a rubber one. Knowing where this is located will save some time and headache when the day comes to drain the pool. As a last resort, we can use the toilet to remove the water.
Step 2: Demolition
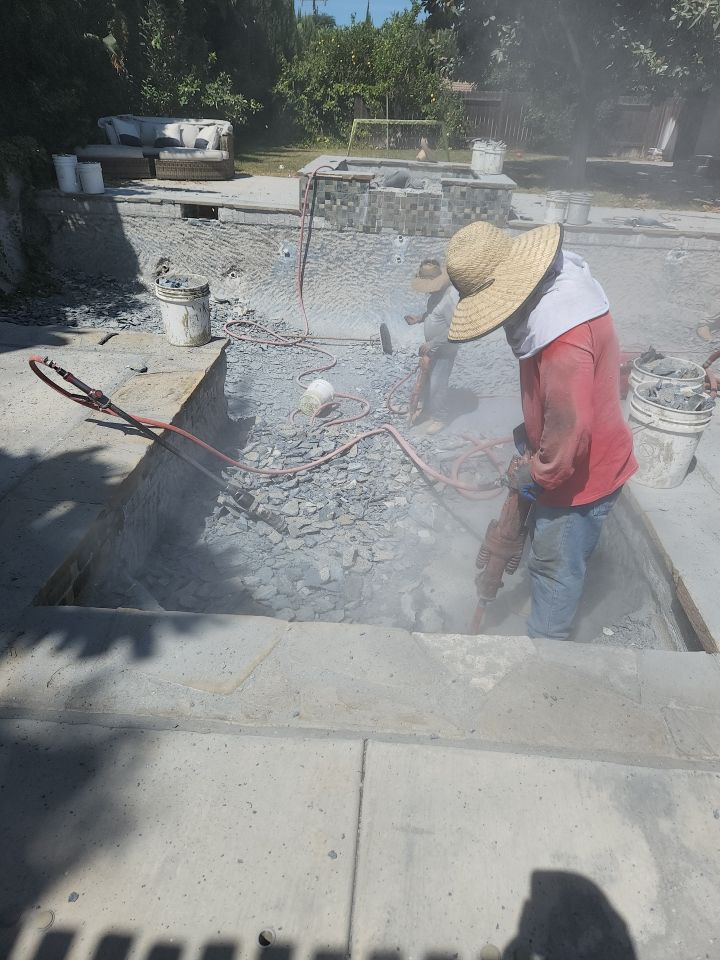
Now the fun begins! The demo day we show up with a few guys and start getting right to work. The plaster surface must be chipped off completely in order to apply the new plaster. We chip the plaster off with jack hammer style power tools as most commonly used in this industry. The tiles & other parts of the pool we need to replace will also be demolished at this time. Any soft spots in the shell or steps we ensure to also dig out in order to properly repair before plastering. This phase is loud & dusty so keep this in mind if you will be home during this process. We haul away all the chips & prepare for the next phase.
Step 3: Inspection, Repairs & Installs
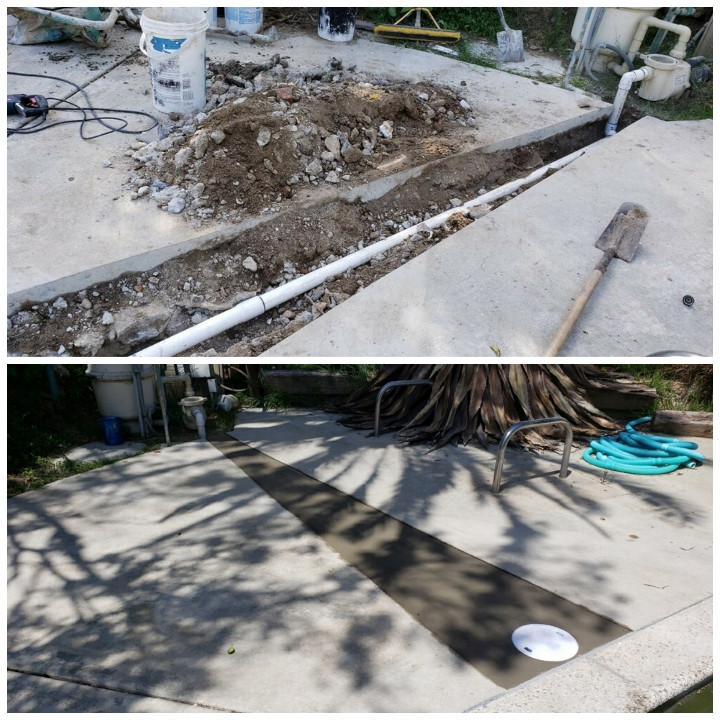
After the demolition phase is complete, we will now concentrate on the shell of the pool. Any cracks, soft spots or rust spots need to be fixed prior to moving forward. Typically, we stop by after demo to inspect the shell & alert the homeowner of any issues we find. Once these issues are addressed a change order will be made if needed & the repairs will start. Depending on how many items are needing repair the job can be quick or can take a few days. It is important to keep in mind that even though the plaster surface doesn’t show any issues, what is underneath sometimes tells a different story. This is not every pool, but keeping a small reserve just in case is a good idea.
Also at this phase we will start on any other repairs or installations needed like skimmers, new plumbing, new equipment, etc. Once this is complete, the next phase can start.
Step 4: Tile Installation
After repairs have been made if any, we will start prepping for the tile installation on the waterline, raised walls, trim & other places as needed. Tiles are picked by the homeowner & delivered by one of our workers. Once tile is on site we prepare the area & ensure it is smooth as well as leveled out for the tile installation. Thin set or mortar is then added before sticking the tiles to the surface. Depending on the color of the tiles chosen we will add a grout that will give the best look. Grout is the material that goes in between all the tiles instead of showing a gap in between. All tiles that you have seen may this be in a pool, a bathroom or kitchen counter will all have grout. If you’d like to investigate the color of tiles & grout to choose from, we can help with this as well!
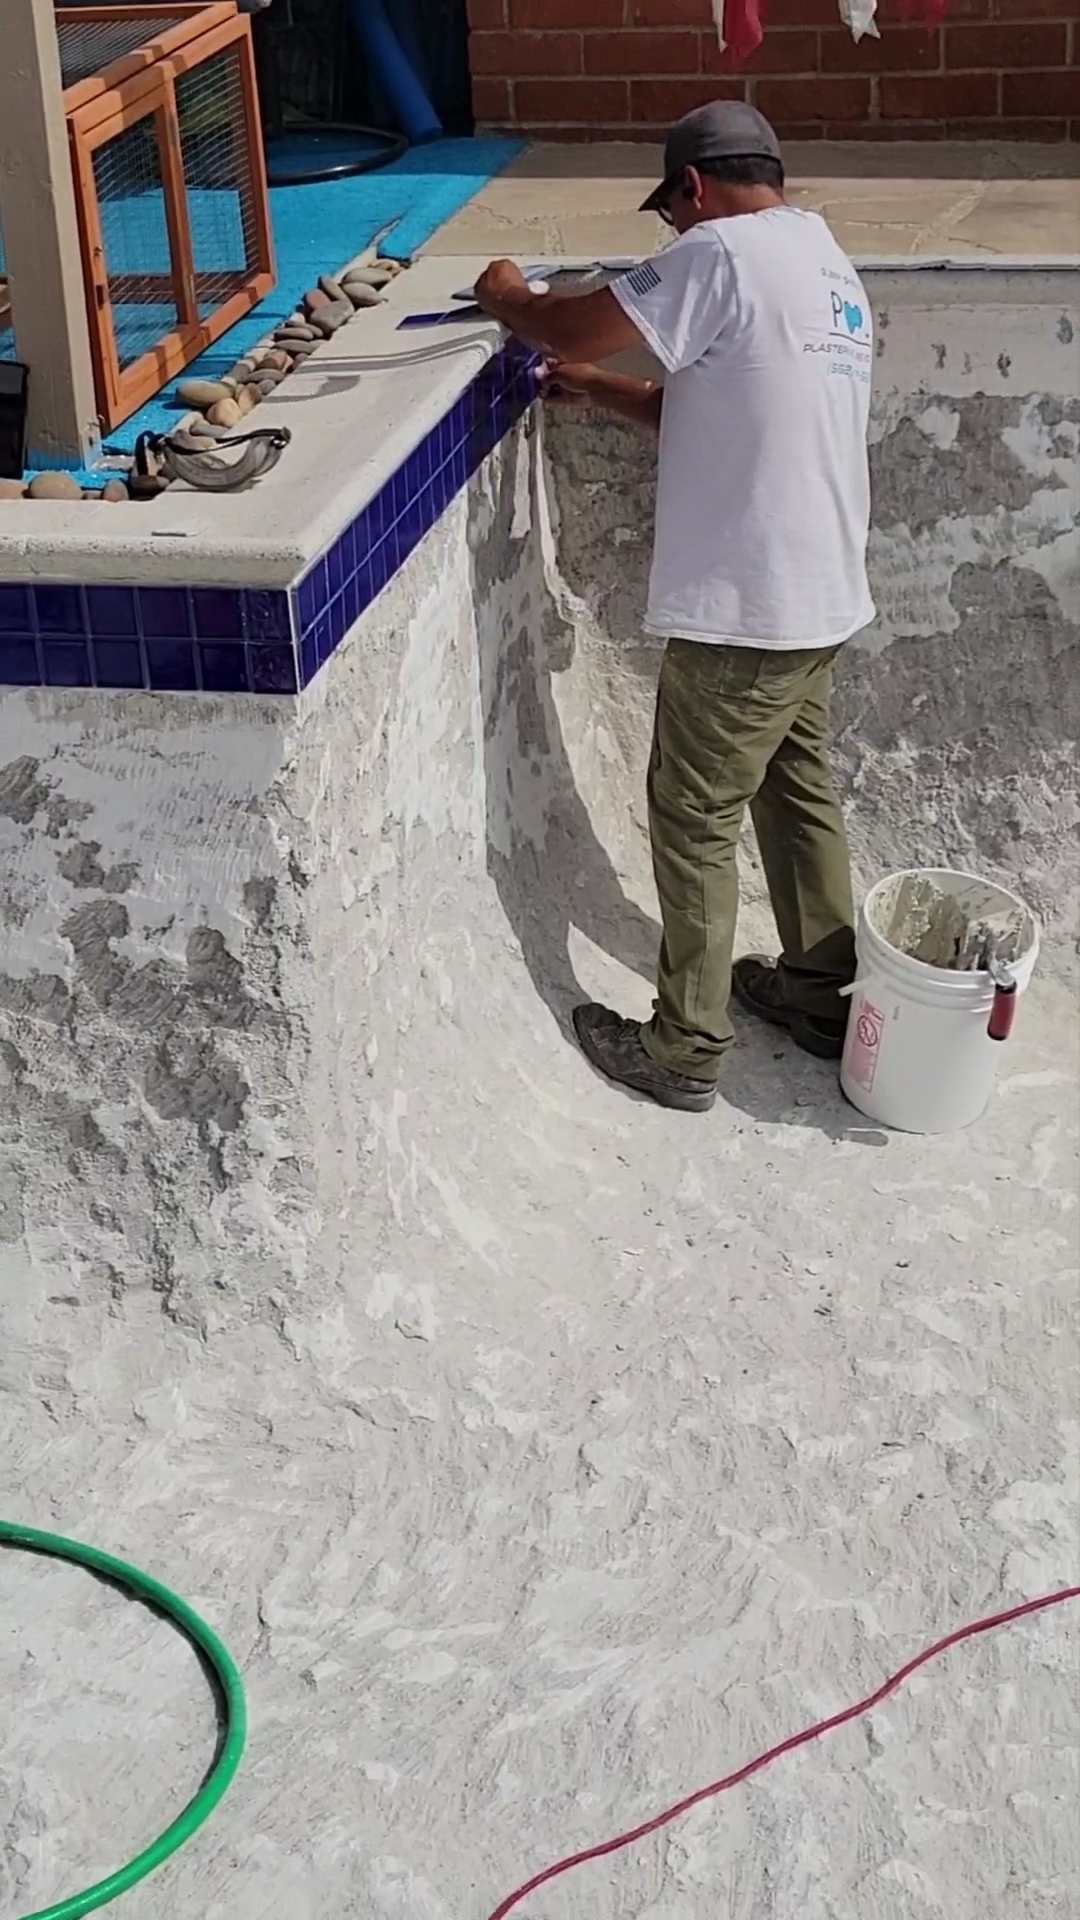
Step 5: Plaster Day
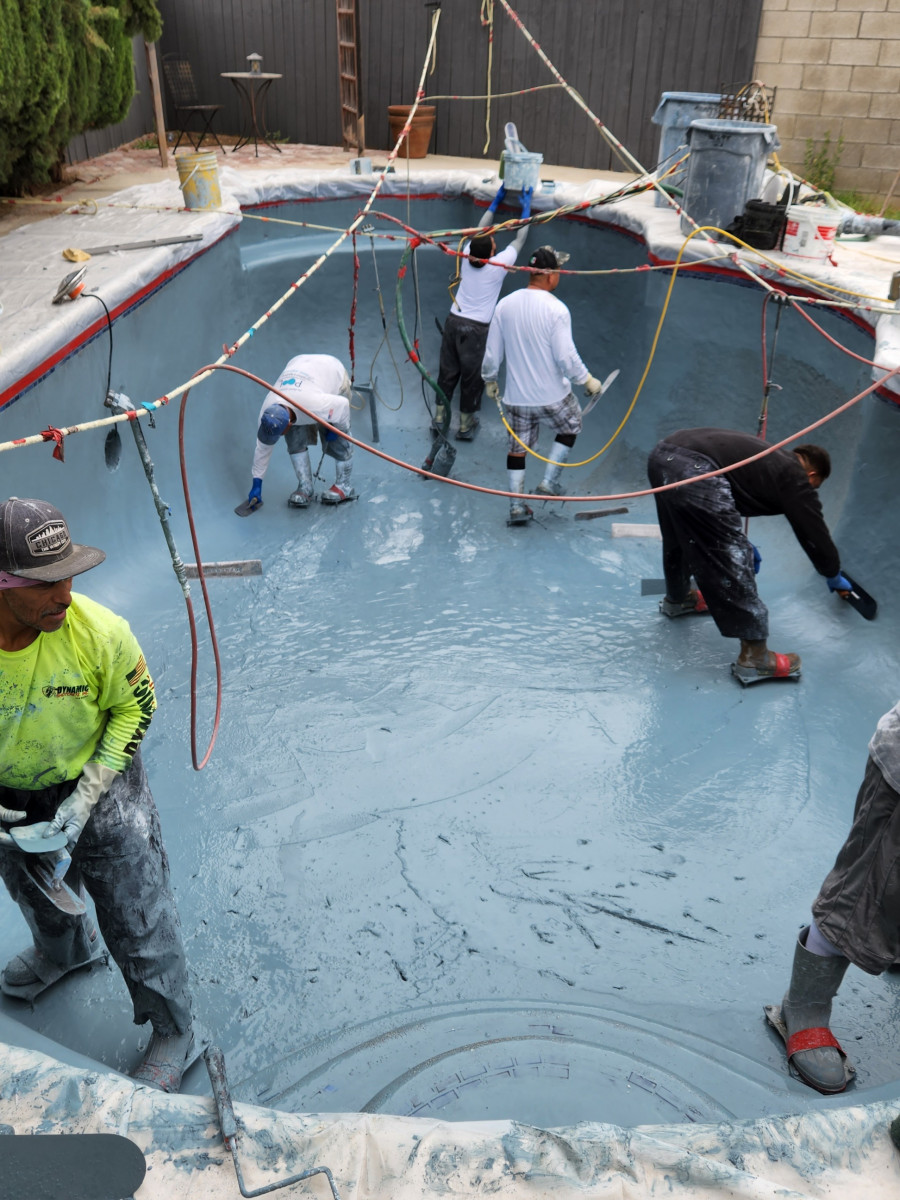
The most anticipated day is here!
On plaster day we will load up the truck with the type & style of plaster you chose before we start driving on over! There will be a large truck & a few workers there to start getting the ball rolling. We will start with cleaning the pool & area while prepping the truck for mixing. Any jets or drain covers needing to be installed will start to be done at this stage.
Once everything is prepped, we can start mixing and applying plaster! The worker on the truck ( known as the mixer) will start putting in the required amount of media for your type & style of plaster. It will be sent down a large hose to the guys in the pool who will quickly start to smooth over the plaster to the pool shell. If we are doing a pebble plaster, we will also wash down the surface before finishing to show the pebble underneath. Also with a pebble plaster we will need to perform an acid wash before we fill the pool. If it is a white plaster pool water we will start filling the pool with water as soon as we finish smoothing over the finish!
Step 6: Start up
The start up is a super important part of the entire process. This will ensure the new replastered surface will cure properly by maintaining proper chemicals and cleaning the surface with the proper tools. We start by ensuring the filter was cleaned thoroughly before turning on the equipment to start circulation. Chemicals are added to the pool like acid, start up tec, calcium, etc. (Chlorine & conditioner will be added toward the end of the start up procedure.) We will use a brush vacuum & nylon brush to clean the surface as much as possible. Once finished, we will give it the last amount of chemicals it needs before allowing regular pool maintenance to start again. It is advised for 30 days: Not heat the pool or spa, Not use a pool vacuum with wheels & refrain from swimming.
That’s the entire process!
You now know from start to finish how this whole thing works & what to expect. The next steps will be to get yourself a quote to get your dream pool started!
